Pinterest has been a great major source of traffic for most blogging gurus out there. Not only you could find out what topics are trending from your keyword research, but you could also boost your followers and traffic with a good pin.
While creating a Pin-worthy image might take a bit of creativity and sometimes trial and error, creating a Pin that stands out from the rest of the pack is easy ~ with Rich Pins.
In this article, I’ll show you how to set up Pinterest Rich Pin in WordPress in 5 minutes.
What are Pinterest Rich Pins?
Rich Pins are a type of Pinterest Pin that lets you add more context to your Pin ~ making it stand out.
With Rich Pins, you can add extra information above and below the pinned image.
Rich Pins pulls the information directly from your website so you could update your original website and Rich Pins will reflect those changes.
So, what does a Rich Pin look like?
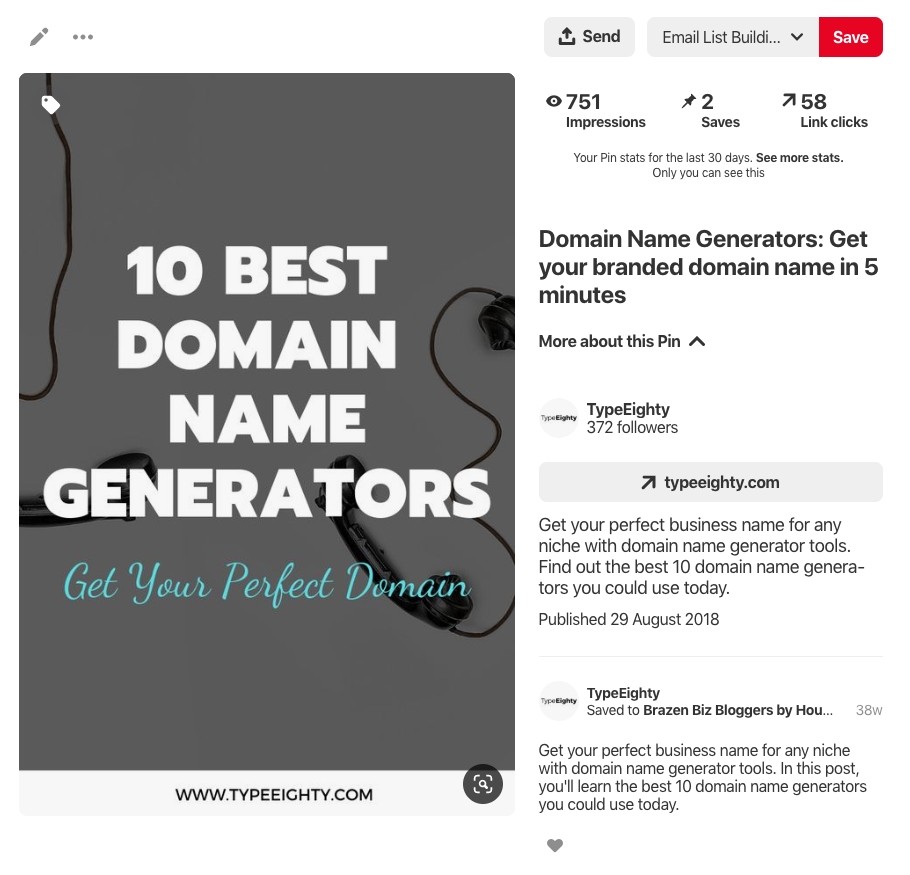
Article Rich Pin would look like this.

Types of Pinterest Rich Pins
Pinterest supports 3 types of Rich Pins: Article, Recipe, and Product.
Article and Recipe are the most common Rich Pins used. 90% of Rich Pins you see will belong to these 2 types. These Rich Pins will update any changes you made on your site.
While Product Rich Pins is not as popular as its counterpart, it’s the Rich Pin you should go for if you’re pinning products on Pinterest. With Product Rich Pins, you could display the most up-to-date price, availability and product information right on your Pin.
How to Add Rich Pins on WordPress
Setting up Rich Pins on your website only takes two steps.
First, you’ll need to add the right metadata — either Open Graph tags or Schema.org — to the content on your site. You could use a free meta tags generator tool (that I created) to analyze your content metadata and generate the complete metadata you could apply directly. If you’re using WordPress, you could set up Yoast plugin or Social Warfare plugin.
For Yoast, go to Admin > SEO > Social and click on the “Facebook” tab. Simply enable the Open Graph meta data.
For Social Warfare, go to Admin > Social Warfare, scroll down to Social Meta Tags section and enable “Show Open Graph Tags”. Read more on the full features of Social Warfare plugin.
And, you’re done!
Pinterest metadata looks like this:
Second, apply for Rich Pins. All you had to do is go to the Rich Pins Validator, enter any valid URL from your site and click “Validate”. Simply correct any problems with your meta tags, until you see the message: “Congratulations! Your rich pins are approved and on Pinterest.”.
Finally, click the “Apply Now” button. You’ll see 3 options to indicate how you applied the tags on your website, choose “HTML tags”. And, click the “Apply Now” button again.
Can I Opt-Out from Rich Pins?
If for any reason, you don’t want any content from your website to be displayed as Rich Pins (which I hope you’re not even thinking about it), you could include this one-liner in the head section of your page.
Final Thoughts
Now you should be able to create Rich Pins for your website. If you want to get good traffic for Pinterest which hugely popular among travel and lifestyle bloggers, you should setup Social Warfare. It allows you to specify a Pinterest image for your viewers to pin (no more random images pinned from your website). Read this post to find out more on tips to boost your social media sharing.
Yuyu
I am a front-end developer and I teaches entrepreneurs who want to grow their audience, start an online business, and pursue their dream life. When I spend time away from the computer, I enjoy reading books and having a cup of green tea.
2 Comments
Add comment Cancel reply
This site uses Akismet to reduce spam. Learn how your comment data is processed.


Can you do another article on how to do this on blogspot. I’ve been trying for months to figure out how to connect my blogspot blog to pinterest, and I just can’t figure it out.
I can see why you’re having problem with Blogspot, it isn’t as straightforward as WordPress. I’ll do up a post on how to do this on Blogspot 🙂